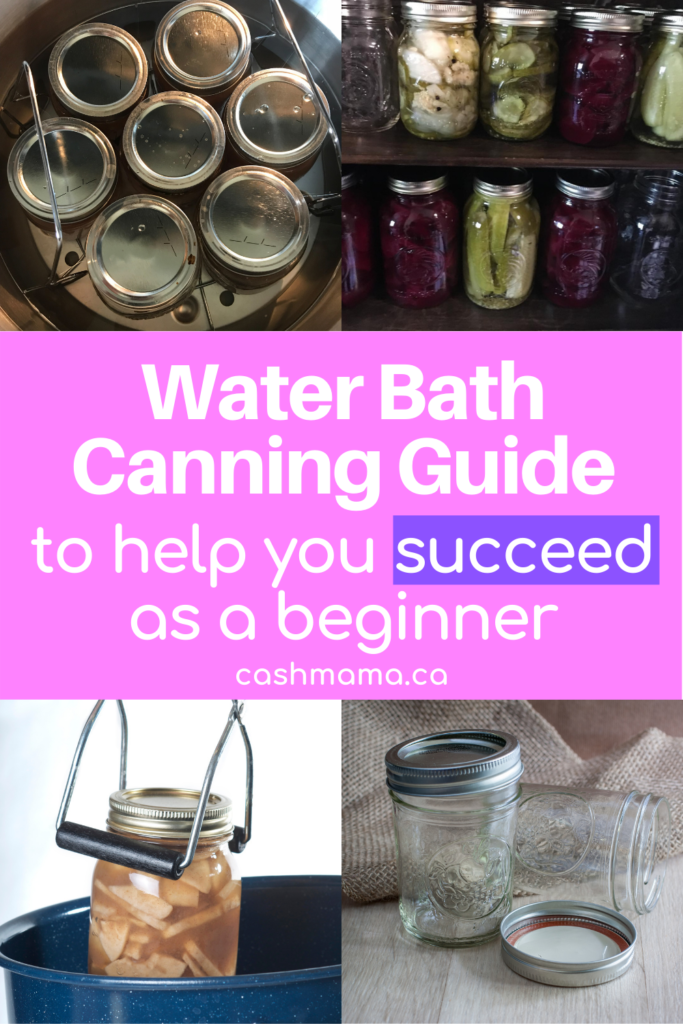
Water Bath Canning For Beginners in 2023
Canning for beginners can be overwhelming and filled with so many “what ifs”, so I have created a complete guide providing you with all the necessary information to get you started on a path to preserving your own food and creating some beautiful art while you are at it! When you preserve your own harvest, you have the ability to choose the ingredients that your family will consume. This can be very useful for people who have a specific diet or food allergies.
While there are many different ways to preserving your harvest, water bath canning has to be my absolute favorite! I had watched my mother Shirley, grandparents, and my aunt Marian preserve food this way as a young girl and I always thought it looked so fun! All those jars sitting on a shelf looked so pretty! So it only made sense, when we started to grow our own food in 2016, that water bath canning would be a huge part of my life. Little did I know it would take over my kitchen for at least 4 months of every year.
Science Of Water Bath Canning
Water Bath Canning is one of the two safe methods used to can food. To preserve food this way, one must control microorganisms and keep them from growing back. Particularly, we need to ensure botulinum toxins do not form in the food before we eat them. Air in food naturally contains invisible microorganisms.
Food preserved by water bath canning must be acidic. It has to be 4.6 or lower on the PH Scale. Food that is of this acidity or has had lemon juice, citric acid, or vinegar to it can be used. Examples of this are jams, jellies, pickles, relishes, tomatoes, salsa, etc.
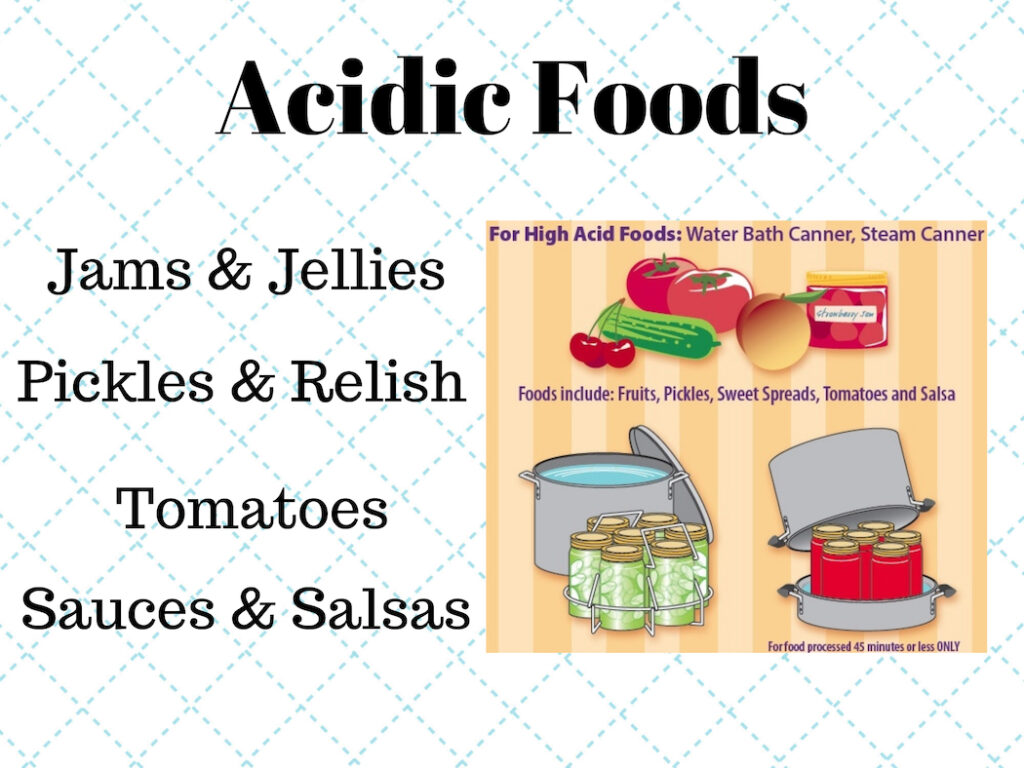
When placing the prepared food into jars and placing it in boiling water, the acid works with the heat to control the microorganisms.
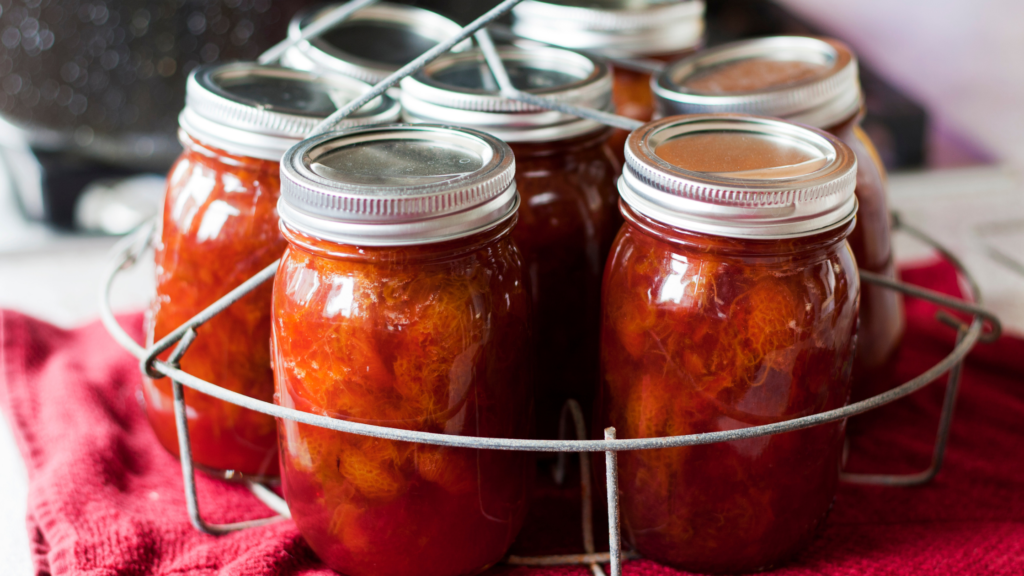
After controlling the microorganisms, we must prevent them from growing back. During the boiling or “processing”, the food expands creating pressure. This pressure pushes all the air out of the jars. It is important to leave what is called “headspace” when filling the jars. This allows the room needed for the food to expand. When the jars are cooling down on the counter, the pressure inside the jars starts to drop. Because the pressure outside the jars becomes higher than the inside, the snap lids go down causing a vacuum seal. You should always allow them to cool for 24 hours as it can take this long for the process to happen.
Food can be preserved this way for up to a year, but you should always check the food for signs of spoiling before consuming it!
This post contains affiliate links, which means I receive a small commission, at no extra cost to you, if you make a purchase using this link. Please see my disclosure for more details.
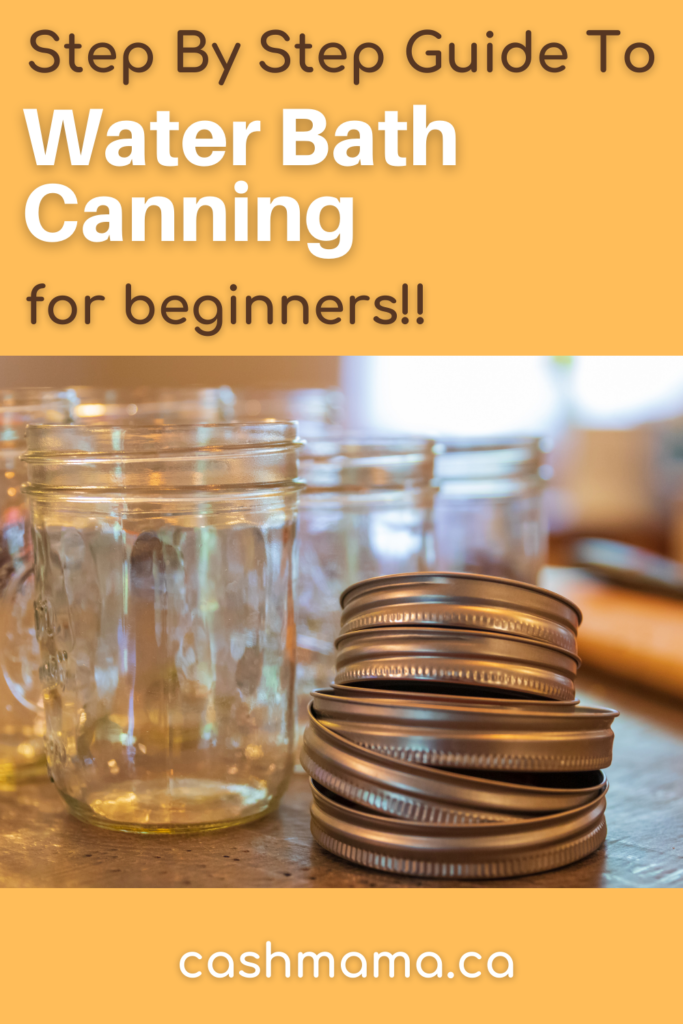
Supplies To Start Water Bath Canning For Beginners
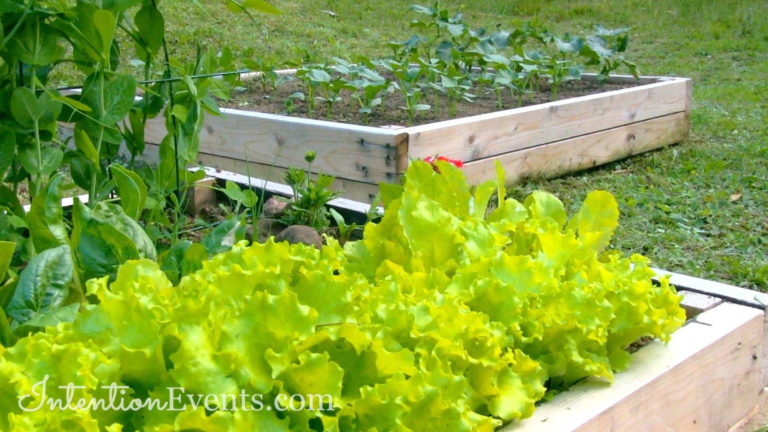
- The best, top-quality ingredients that your recipe calls for. Produce at its peak of ripeness is best!
- A current, tested home canning recipe
- Mason Jars (size recipe calls for)
- Two-piece SNAP LIDS
- Canner Including Rack & Lid
- Common Kitchen Utensils – Measuring Spoons & Cups, Ladle
- Canning Tools – Jar Lifter, Funnel, Magnetic Lid Lifter, Head Space Gauge/Bubble Remover
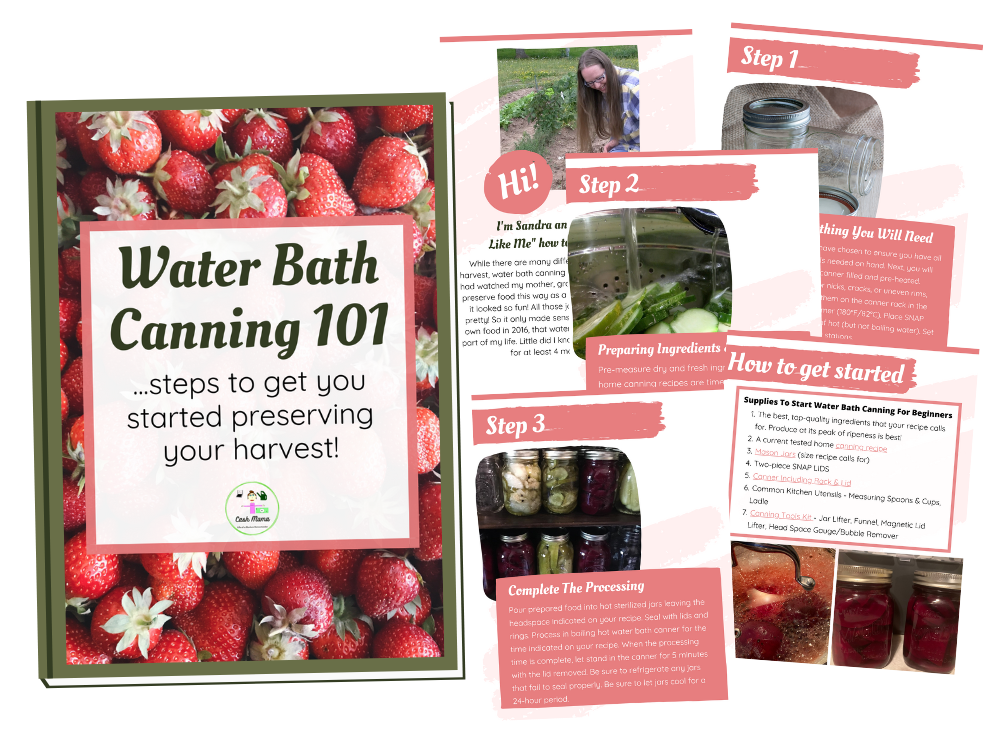
Free Printable Canning For Beginners Mini E-Book!
- Start Preserving Your Harvest Today!
- Supplies List Included
- Step By Step Instructions
Sign up today to get instant access to the FREE Mini E-Book!
Step By Step Canning For Beginners
Step #1 – Prepare Everything You Will Need
Review the recipe you have chosen to ensure you have all the ingredients and tools needed on hand. It is best to use top-quality ingredients that your recipe calls for. Produce at its peak of ripeness is best! Also, you want to be sure you are using a current, tested home canning recipe.
Next, you will want to get your home canner filled and pre-heated, it will take longer than you think to come to a boil. I remember the first time sitting there for what seemed like forever just looking at the canner!
Be sure to inspect all mason jars for nicks, cracks, uneven rims, or sharp edges. Any of this may cause breakage or stop the sealing process. Be sure to wash the jars and place them on the canner rack in the canner. Make sure the jars are covered by a couple of inches of water and let heat to a simmer (180°F/82°C). Keep jars simmering until ready to use.
Set screw bands aside, place SNAP LID® discs in a small pot of hot (but not boiling water). Set up your “filling area” and have your canning tools at the ready. Next, set up your “cooling station”. Set clean tea towels in a place near the stove where your processed jars can rest. Keep in mind that they will need to sit in the same spot for 24 hours without being moved when choosing your spot.
Step #2 – Preparing Ingredients & Recipe
Pre-measure dry and fresh ingredients. Most home canning recipes are time-sensitive, so having ingredients pre-measured will help.
This is where you will actually make your food that will go into the jars. Follow your recipe exactly to ensure food safety.
Step #3 – Complete The Processing
Pour prepared food into hot sterilized jars leaving the headspace indicated on your recipe. Seal with lids and rings. Process in boiling hot water bath canner for the time indicated on your recipe. When the processing time is complete, let stand in the canner for 5 minutes with the lid removed. Be sure to refrigerate any jars that fail to seal properly. Be sure to let jars cool for a 24-hour period.
Common Questions About Water Bath Canning for Beginners
What can I use if I don’t have a water bath canner?
You don’t need to actually have a pot that is sold specifically for canning. Although a water bath canning pot is designed to be big enough for a number of jars and to hold enough water to properly cover the jars, you do NOT have to have a special canning pot in order to water bath can. In fact, an extra-large stockpot will work just fine! The only issue to be concerned about is that it must be tall enough to cover the canning jars with a good 2 inches of water.
Do you put jars upside down after canning?
The answer is NO! Turning your jars upside down after processing was a method that may have been passed down by Grandma. While Grandma had very good reasons for this, today’s canning lids are not made to seal with this method.
How long do I boil jars for canning?
When it comes to sterilizing your jars for use, it is important to make sure they are at a simmer for at least 10 minutes. Although, I prefer to just let them stay in the canner simmering until ready to use. Be sure to empty all water from the jars before filling. This method also gives you a head start on bringing your canner to a full rolling boil when it comes time to process!
How long does canning food last?
When asking this question, most times you will hear that properly water bathed canned food is safe to eat for 18 months to two years. If you ask women who have been canning for a very long time, they may tell you that some foods remain safe for up to 5 years. Regardless of how long you decide to keep your delicious work of art, always inspect each jar carefully for signs of rust on the ring or lid, a bubbled look and feel to the lid, and SMELL the food inside for any FOUL ODOR. I personally ensure all my water-bathed canned items are eaten up within the year. This way I have lots of space for new creations the following growing season!
Can jars touch when canning?
No, jars must never touch during the canning process. After you have placed your filled jars into the water bath canner, you must be sure that there are at least two inches above the tops of the jars, and that water is able to freely pass around each jar. This will ensure that the food is all being properly heated! It is also a must that the jars are not touching when placed in the cooling area or they may break.
The Last Thing You Need to Know About Water Bath Canning
If you have made it this far, I congratulate you! You have enough knowledge to begin your canning journey successfully. If you have any questions, please feel free to leave a comment in the comment section below. I would love to hear from you and would be happy to answer any questions that you may have!
Don’t forget to grab your free printable Mini E-book below for your on-the-go reference!
Free Printable Canning For Beginners Mini E-Book!
- Start Preserving Your Harvest Today!
- Supplies List Included
- Step By Step Instructions
Sign up today to get instant access to the FREE Mini E-Book!


I’m really glad I found this. We planted our first garden last year, and we had to give so much away because we didn’t know what to do with the extras. I think this year, we’ll try canning.
This was a really interesting read! Thanks so much for sharing all of this great information.
Oh wow I haven’t heard of this! Super interesting!
This is such an informational post for a beginner like me who would love to can stuff. Can’t wait to try this.
Great article. I can lot of stuff and I am always looking for new knowledge on canning. Thanks for this great post.
Hhhhmmmm….I do believe this is something I can actually do! I do water some plants at home but this can help me save some water. It’s getting pretty dry here.
Oh my goodness, I’ve always wanted to try this but never knew where to start. Thank you so much for posting such easy steps!
This is so cool! Thanks for sharing!
This was so informative! I’ve always been interested in canning but have been afraid to try. Thank you for all the tips!
This is really good information. As I was reading I remembered that this is the way my mom used to do it as well.
I’ve been making chutney and jam for years but I’ve never tried preserving veg like this. Looks great!