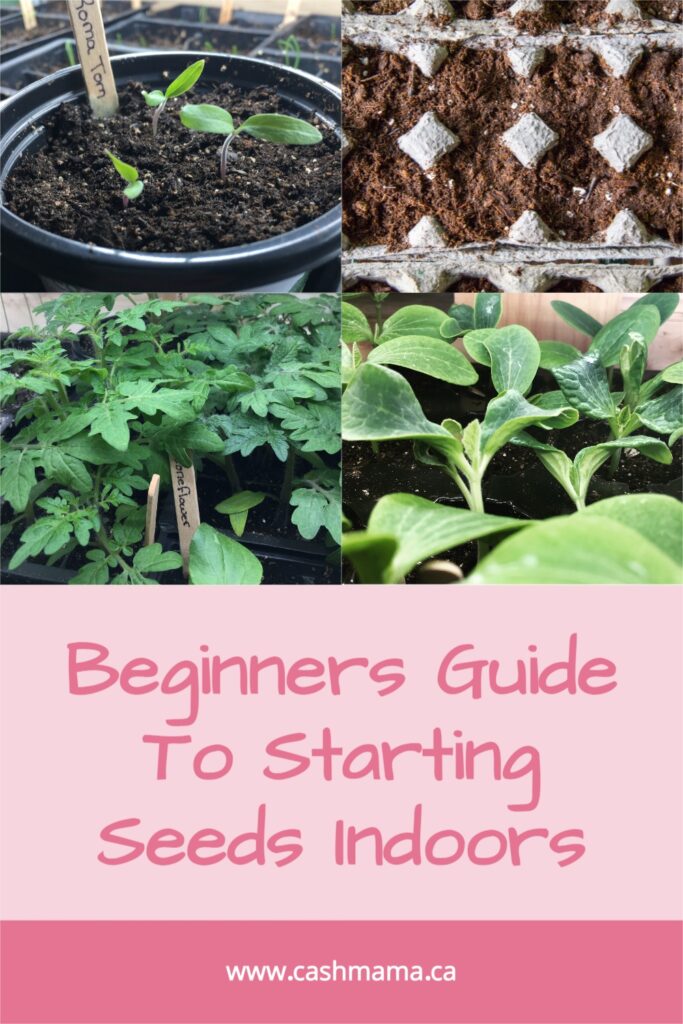
The Beginners Guide To Starting Seeds Indoors in 2023
Getting an early start on your garden can be accomplished by starting seeds indoors. In cooler climates such as Canada which have shorter growing seasons, starting your seeds indoors can make or break your harvest. Plants like tomatoes and peppers take a while to reach their full harvest potential, so starting seeds early can give you those precious few weeks to ensure you enjoy your garden bounty before the first frost hits us.
This post contains affiliate links, which means I receive a small commission, at no extra cost to you, if you make a purchase using this link. Please see my disclosure for more details.
I thought it would be a great time to write a complete guide to starting seeds indoors since I will be starting my seeds over the next several weeks. We are roughly sitting at 8 weeks before the final frost of the year. For us gardeners, this is a very exciting time!
When I first started gardening, I use to have seedlings everywhere throughout my house trying to capture the maximum amount of light possible. Even being as persistent as I was, I still ended up with leggy seedlings falling all over the place. Although, there are different benefits to using natural light vs. artificial light to start your seedlings. This will be my third year using my absolute favorite light garden (more on this later).
Benefits of starting your seeds indoors
As I mentioned above, starting seeds indoors provides us with a jump start on the growing season, offering us a larger chance of getting in a full harvest in cooler climates. This isn’t the only benefit of starting seeds indoors though. Here are a few other huge benefits that you are rewarded with when you start your seeds indoors:
- You Save a lot of Money! – Although you will need a few things to get your seeds started indoors, it is still extremely economical to grow your own bedding plants than going to your local garden nursery and buying all those plants you need to have a productive garden for your homestead. You get a ton of seeds in a seed packet for the same price that you would spend on just one plant all ready to go for you. Perennial flowers can be super expensive – Check out these easiest flowers to grow from seed!
- You Get Healthier Plants – Starting your seeds indoors provides you with an overall healthier plant to transplant to your garden. You are able to choose your own seed-starting soil and containers to start with. Your plants also get the benefit of being transplanted to bigger pots right away when necessary so they don’t become pot-bound. You are in complete control over every aspect of your seedling’s environment from air control to watering and nutrients.
- You Get More Variety – Anyone that has started their gardening journey, probably gets that excited feeling when the seed stands start to hit the grocery and hardware stores during late winter. There are far more varieties offered in the seed world than seedlings offered at the garden nursery! I start at least 6 varieties of tomatoes every year.
- You Get Satisfaction – Everyone has to agree to it is an amazing feeling to know that you did it yourself! The transformation from seed to that established plant that you will set out in the garden once the weather is warm enough will truly warm your soul! And there’s something truly amazing about seeing tiny seeds turn into a hopefully huge harvest.
- You Beat the End of Winter Blues – I find that the absolute best way to beat the end of the winter blues is starting seeds indoors. Nothing screams spring like watching and caring for your tiny seedlings!

Supplies needed for starting seeds indoors
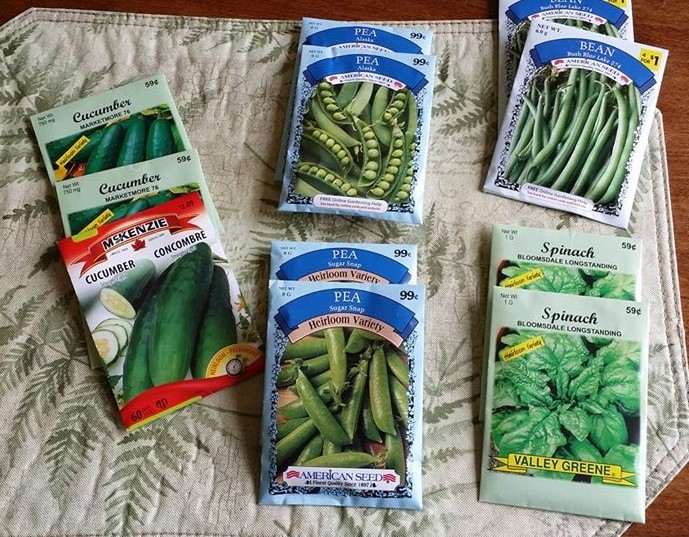
- Seeds – I think this one is pretty obvious, but the quality of seeds plays a BIG role in your seed-starting success! While I start picking up packs in the late winter, whenever I start seeing them in stores, I also order a lot online so I can get the varieties I’m looking for. If you are going to order your seeds online, be sure to start ordering them early since many online stores sell out. Here are a couple of websites that I’ve ordered from: www.veseys.com & www.migardener.com
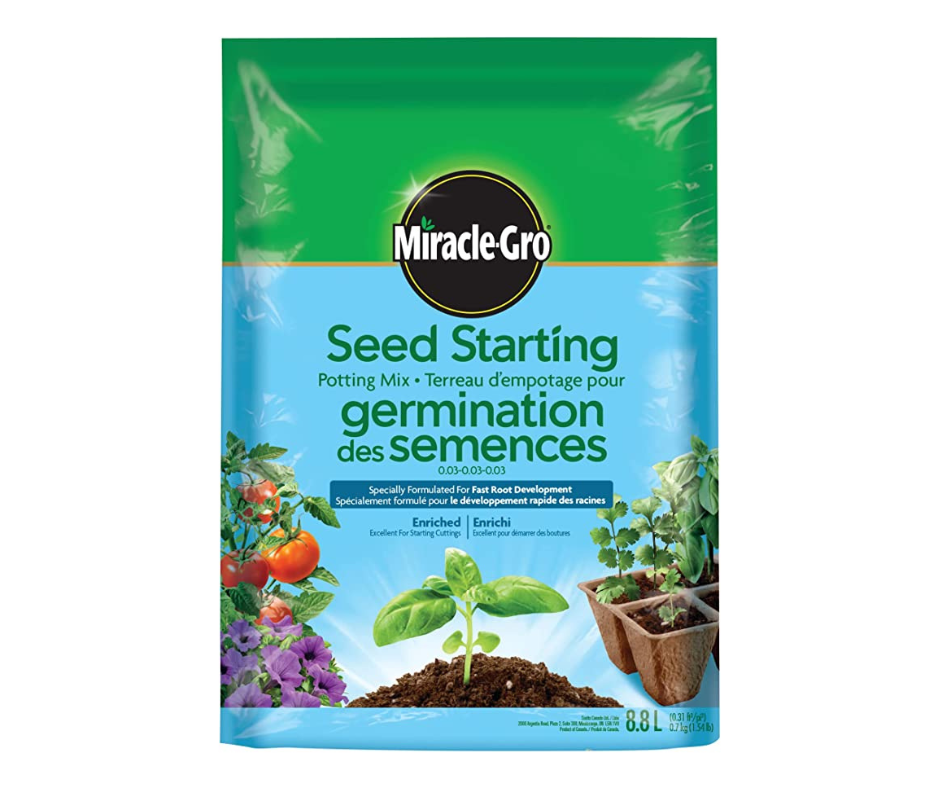
- Seed Starting Soil – You will need a quality seed starting medium. The soil you use to start your own vegetables and flowers plays a huge role in their health! The ideal seed-starting soil should be light, airy, and contain the right nutrients to feed seedlings throughout their early stages of life. Try to avoid using plain old potting soil, although I have used them in a pinch when running out of my usual seed starting mix. Potting soils tend to be too heavy for seeds as they grow. An example of a great seed starting mix that I have had great success with is Promix Seed Starting Mix.
- Plant Pots or Trays – You will need something to plant all those seeds in. The options are endless when it comes to choosing your planting containers. I personally have a large collection of small 4″ pots, larger pots, seed trays, and more that I’ve collected over the years. Some are recycled from plant sales, but a large amount came from my neighbor. She found an individual on Facebook Marketplace giving away her collection. My sister, Tales From A Mom In The Middle, likes to use recycled yogurt containers. You can read more about this in her post about starting tomatoes and peppers indoors. Depending on what you are growing and when you start them, you may need different sizes for “potting up” your seedlings as they grow. Keep reading for more on this!
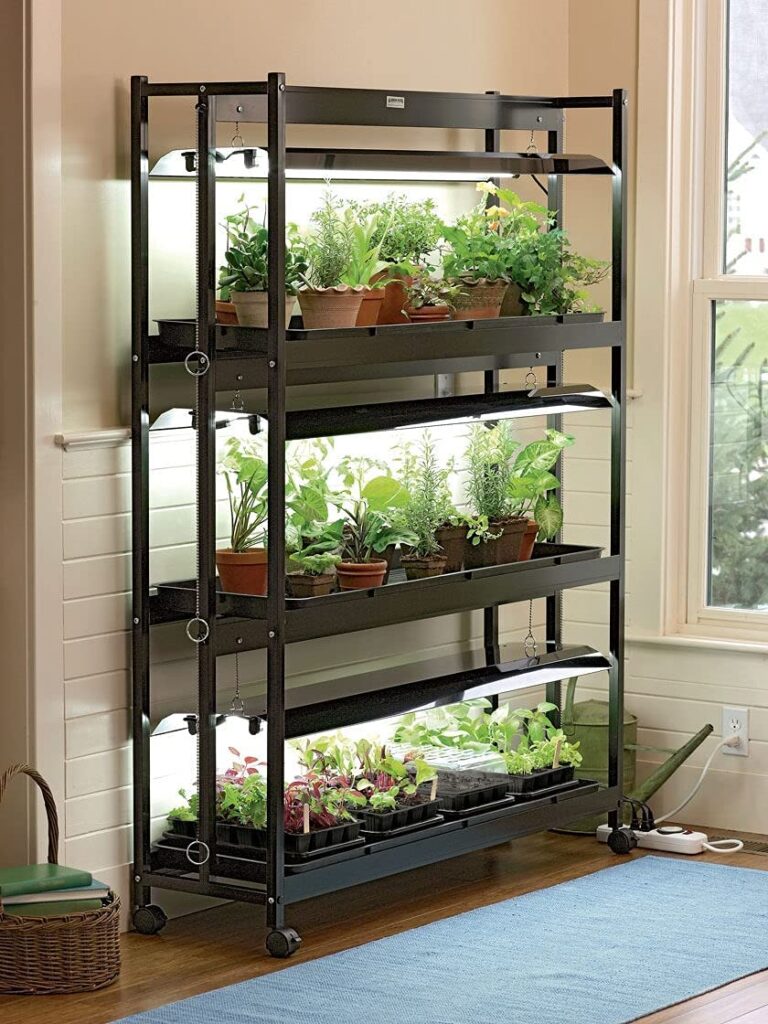
- Proper Lighting – It is incredibly important when starting your seeds indoors to prepare a well-lit area! Well many of us gardeners started out with a sunny window sill, it really is not the ideal solution. This method can and most times is a disaster with the end result being weak and spindly seedlings. Seedlings will consistently reach for the closest light source which results in seedlings that are tall, thin, and certainly are unable to handle the stress of transplanting to your garden. You don’t necessarily need expensive grow lights. I did eventually end up splurging on my 3-Tier Stand Sunlite Light Garden only because I needed a lot of space for the crazy amount of seedlings I grow every year. If you are just starting out, you can get a fairly inexpensive system.
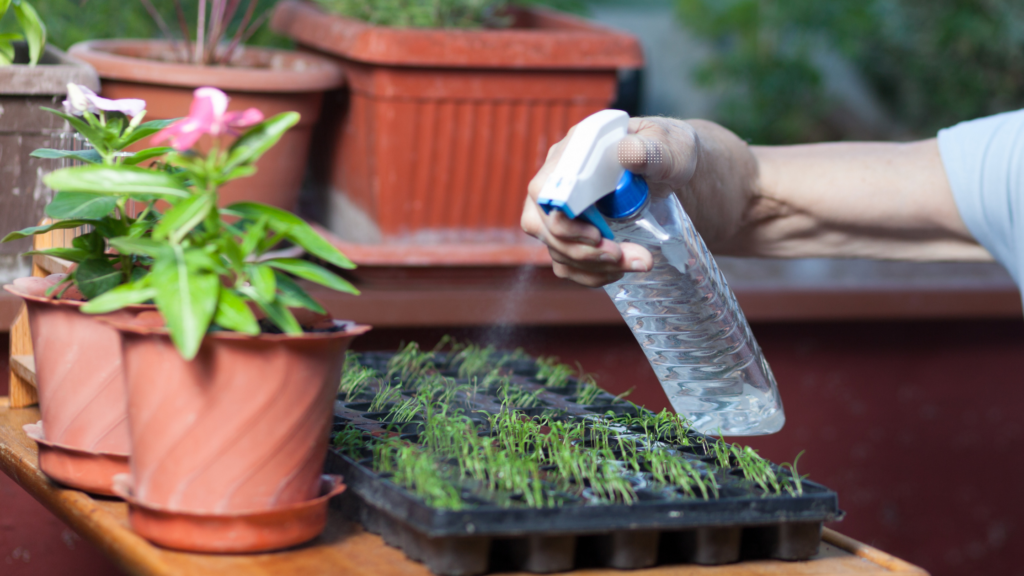
- Spray Bottle – A spray bottle is not absolutely essential, but it certainly helps. I use a spray bottle to moisten the soil without causing the seeds to move or over-watering when the seedlings have yet to sprout and when the seedlings are very small.
Steps to Success in starting seeds indoors
Step #1 – Pick a Home For Your Future Seedlings
Choosing the ideal location to start your seeds indoors is very important for three reasons:
- As mentioned previously, proper lighting plays a huge part in growing your own healthy plants. Well, you can choose to start your seeds in front of a huge sunny window, this is not recommended. There are many options on the market that will provide excellent light for your plant babies. Keep in mind how many plants you are looking to grow and the amount of space you have available in your home. Seedlings need at least 12-16 hours of light each day. Your lighting source should be kept about 2 inches above your seedlings at all times, so be sure to adjust your lights as your plants grow.
- Temperature is also something to consider when choosing your location. Your seeds need enough heat to come out of their state of dormancy and start the sprouting process. The ideal temperature for starting seeds is between 70-80°F (21 – 27°C).
- Airflow will help simulate the outdoors making for stronger plants that are ready for the outdoor elements. Having consistent airflow also helps to control heat and humidity. It may be beneficial to use a clip fan or a number of clip fans to provide this.
Step #2 – Gather All Your Supplies Needed For Starting Starting Seeds Indoors
As previously mentioned, the options for containers are endless. These can be flats, toilet paper rolls, or any recycled container with a few drainage holes poked into the bottom. Make sure you have water, a bowl, your seed starting mix, any plant markers that you wish to use, a spray bottle, and of course, the seed starting soil that you wish to use. It is best to arrange everything needed on a large table or flat surface as it can get messy.
Step #3 – Prepare Your Seed Starting Mix & Fill Your Containers
It is best to pre-moisten your seed starting mix before filling your containers. Use a bowl or container that is large enough to hold your seed starting mix and add a little warm water. You will want the soil mix slightly moistened (crumbily not sopping wet). Fill your planting containers with the pre-moistened seed starting mix to within 1/2-inch of the top of the container. Once filled, press gently to remove any air pockets and add seed starting mix as necessary.

Step #4 – Time To Plant Those Seeds
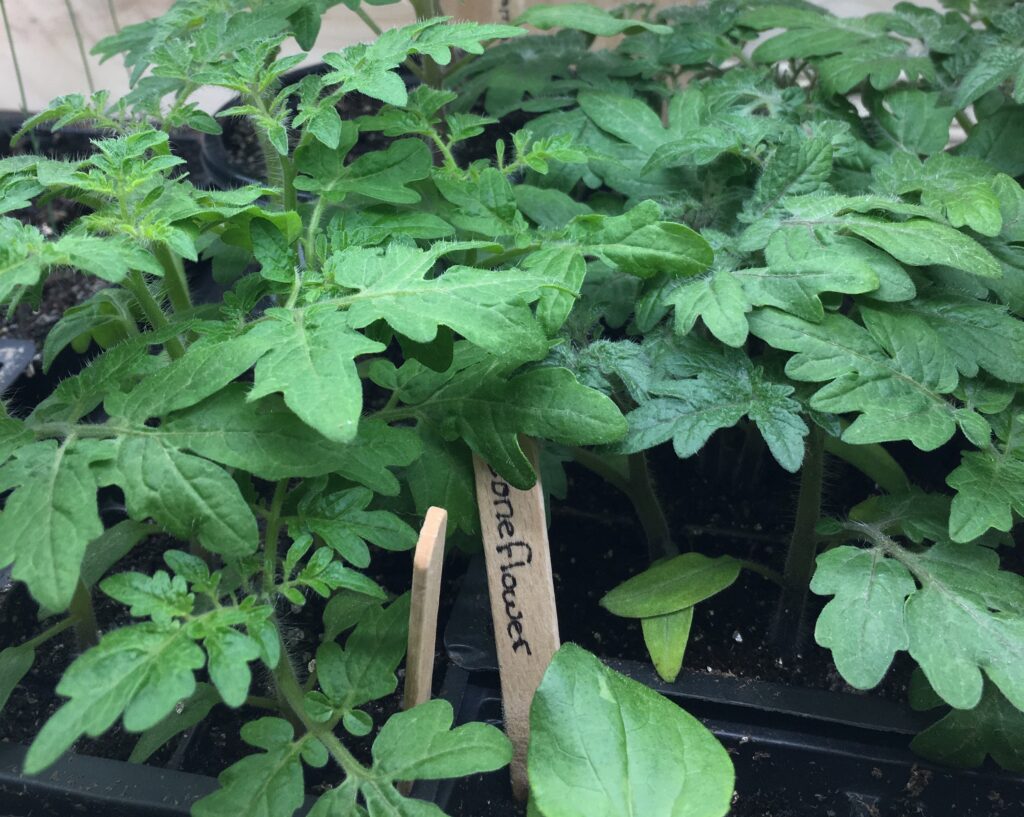
Always check individual seed packets for instructions on how deep to sow your seeds as well as the number of weeks to sow before your area’s last frost. Poke enough holes (I use a pencil for this) into the seed starter mix for 2 or 3 seeds. Cover these seeds with the soil and press down lightly so that the seeds can make contact while germinating. This is when you will mist the top of the soil lightly with your spray bottle. If you are planting a number of varieties or different seeds, be sure to label the containers.
Step #5 – Keep Your Seedlings Moist (Love Your Plant Babies!)
While you are waiting for your seedlings to emerge, keep the surface of the soil moist using your spray bottle. Continue using this method to water your seedlings while they are still small. The goal is to keep the soil moist but not soggy as to not encourage mold.
Step #6 – Maintain Your Seedlings As They Grow
When the seedlings have grown up a bit (one to two sets of true leaves), water the plants from underneath by adding water to a leak-proof tray or plate. This way the roots can draw in the water. Don’t let the soil become sopping wet or the seedlings will drown! Once the seedlings become well established, it is best to let the soil dry out a little bit between watering to avoid mold. If your seed starting mix does not contain any nutrients, once the second set of leaves appears (true leaves), it is time to begin fertilizing your seedlings. Only use half-strength, liquid fertilizers!
Step #7 – Time To Thin Those Plants!
Each container you started seeds indoors in should have only one plant in order for it to grow big and strong. Choose the Biggest and Strongest seedling that you want to keep and snip the unwanted seedlings with a pair of scissors at the soil line. You may want to try to transplant the extras into separate pots, but you could risk damaging the roots and losing them all!
Step #8 – Some Plants May Need More Room To Grow
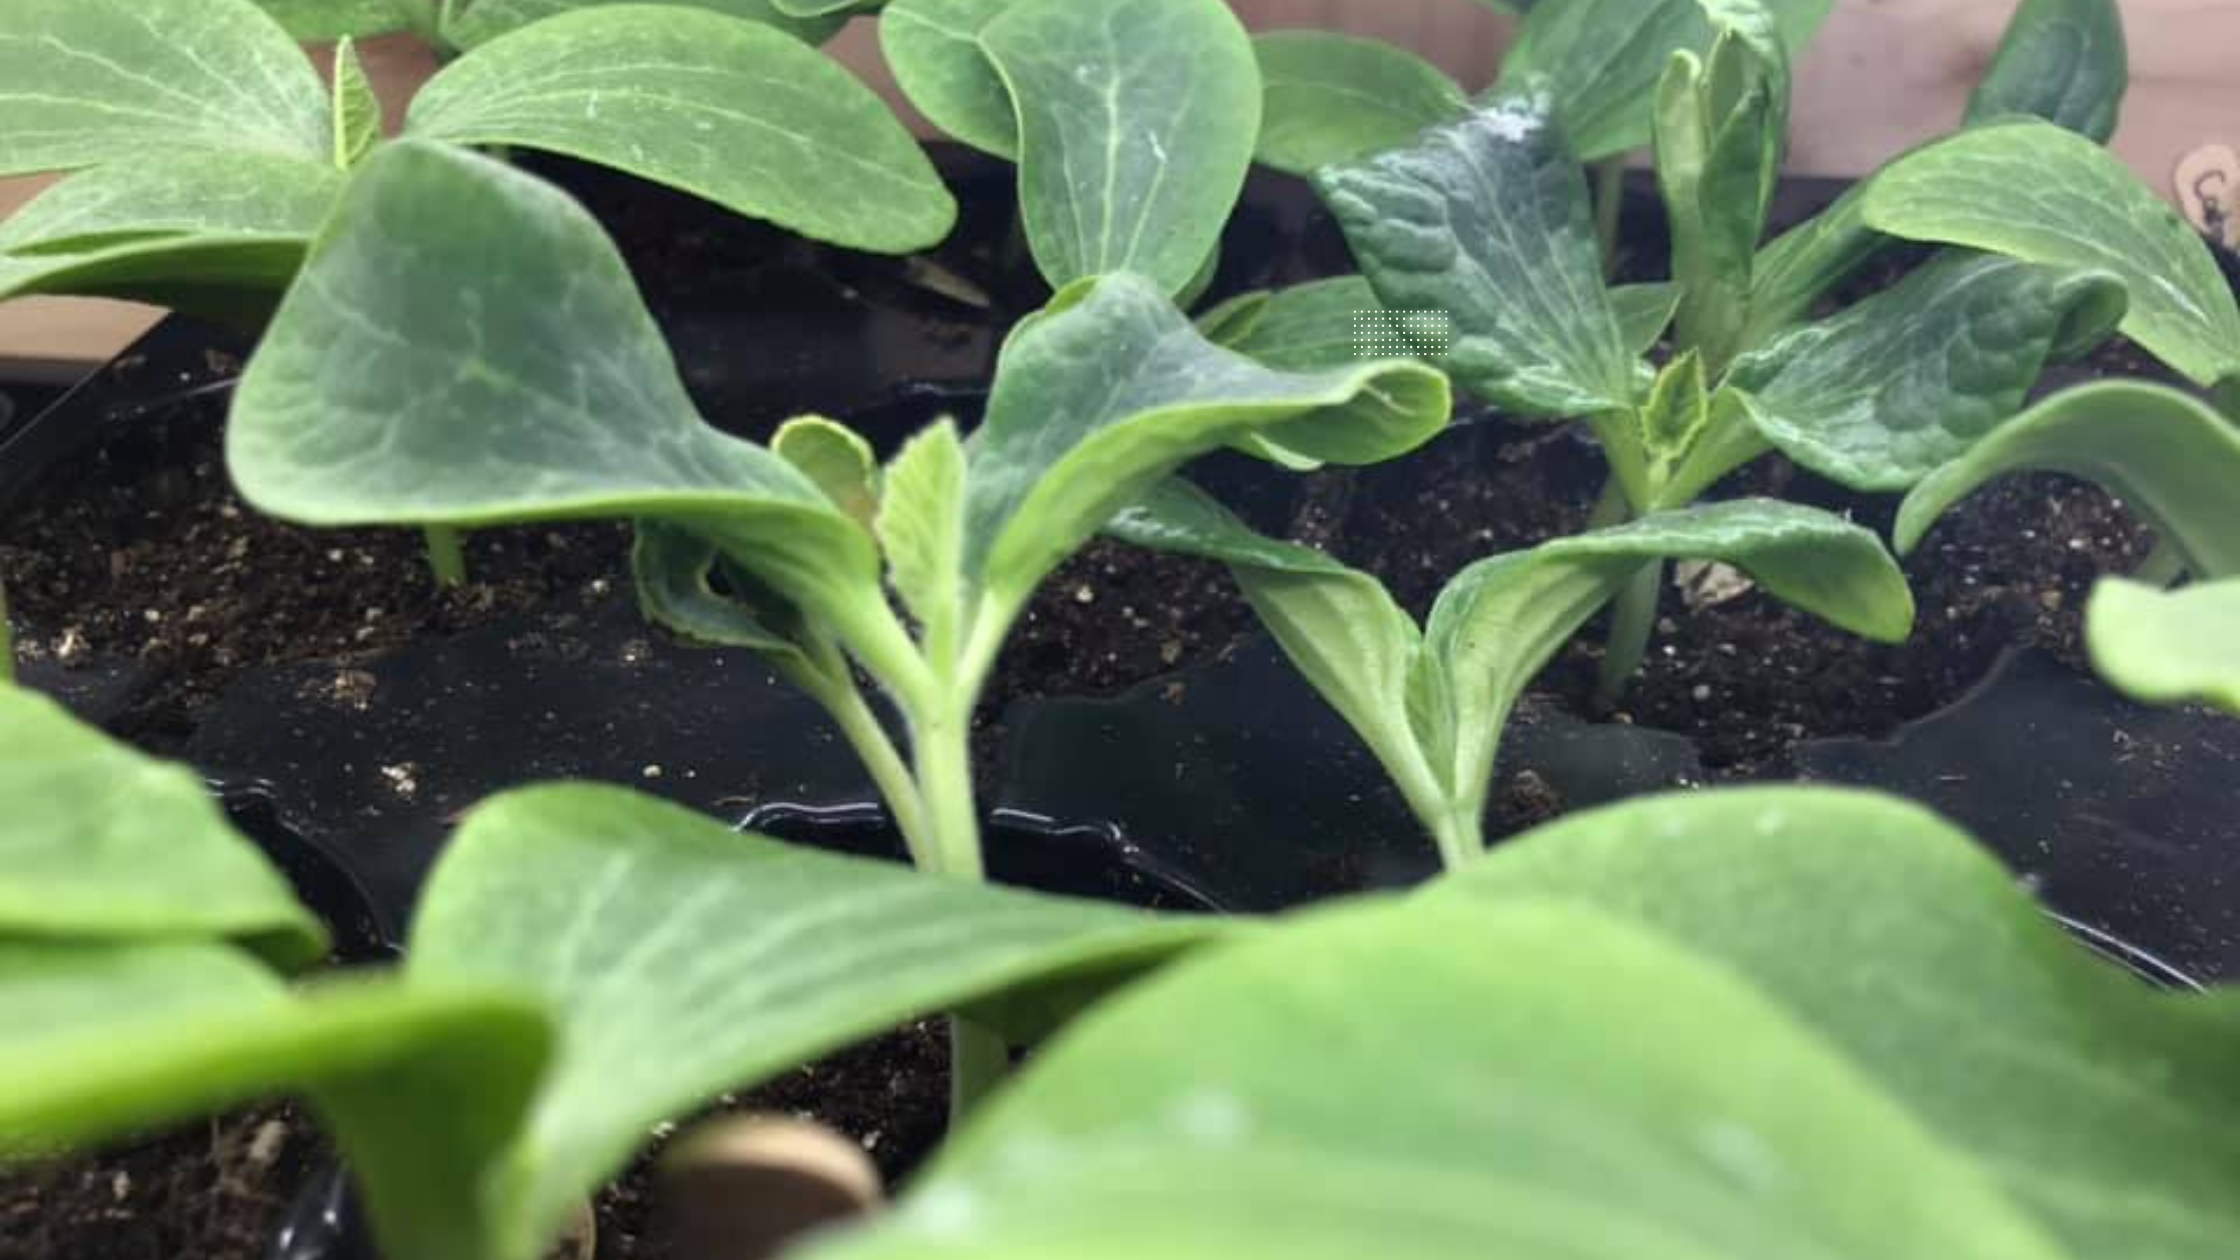
Now that you have strong and healthy seedlings, some may outgrow their containers before it is time to set them outdoors. These plants will require larger containers, so they can continue to grow. Keep in mind that not all plants will outgrow their containers! If the roots have filled out their container, or you find that you need to water the plants almost every day, it is time to repot them into larger containers. Here are the steps that will need to be taken:
- Water the seedlings well before repotting.
- Fill your containers about halfway with the pre-moistened mix being sure to leave enough room for the seedling’s roots to sit about 1/2-inch below the rim of the new container. Most seedlings require you to not cover the stem with soil, although tomatoes and a few others should have at least an inch of the stem covered. (Do your research on individual plant requirements)
- Squeeze the sides of the container and invert it while holding your hand over the soil so the base of the plant is between the index and middle fingers in order to remove the seedling from its original container.
- Carefully center the seedling in its new home! You can now fill in the sides with your pre-moistened mix, and tamp it in lightly until you have filled the gaps.
Step #9 – Harden Off Your Seedlings (VERY IMPORTANT!!)
A couple of weeks before transplanting your seedlings to the garden it is time to start preparing them for their environment. They need to get used to sunlight, wind, rain, cool nights, and less frequent watering. Begin by taking your plants out to a shaded area for a couple of hours on the first day. Take your seedlings outside each and every day (as long as the weather permits), increasing the amount of time and sun exposure gradually each day.

Common Questions/FAQ About Starting Seeds Indoors
Do I need a grow light to start seeds indoors?
A grow light is NOT needed for starting seeds indoors, but seedlings do need a light source of some kind in order to continue growing healthy and strong! Your seeds can germinate and sprout indoors in complete darkness. They only need water and a growing medium such as a seed starting mix in order to germinate. However, your seedlings do need sunlight or a grow light as soon as they emerge from the soil. If you do not have the capital to purchase a grow light setup, a shop light or even a sunny window will do. You will want to adjust your seedlings often to ensure even light and may battle leggy seedlings.
Is it too late to start seedlings indoors?
Knowing when the best time for starting your seedlings indoors is very important and is determined by two factors.
The first thing to do is to find out when the last frost date is in your area. The best online resource that I have found to figure out your last frost date is The Old Farmer’s Almanac. Remember this does not mean you are able to transplant on exactly that day without the worry of a frost, but it does give you a ballpark date for knowing the date you will be transplanting.
The second factor involved in knowing when it is time for starting seeds indoors is the type of seed. Be sure to check the back of the seed package for how many weeks before the last frost date to start your seedlings.
Do I need a heat mat to start seeds?
Most gardeners and homesteaders do not use heat mats including myself. Room temperature, given that it is between 70-80°F (21 – 27°C), will be sufficient enough for starting seeds indoors. However, heat mats can be beneficial if you are trying to germinate seeds in a colder room. I personally use a thermometer device to monitor my temperature and humidity in my grow room.
What vegetable seeds should be soaked before planting?
Although it is not necessary, it can speed up the germination process when you soak them before planting. Be sure to do your research on soaking a particular seed before starting the process. Seeds that may benefit from soaking are the ones with hard coats. In the vegetable seed world, this means peas, beans, corn, pumpkins, and squash. Small seeds like lettuce, radishes, carrots, etc. are very hard to handle once they are soaked and don’t really need it anyway.
Can you use egg cartons to start seeds?
Starting seeds indoors takes a lot of time and resources. If you look around your homestead, you may find some of those resources you won’t need to buy to get your plants started. You can easily and inexpensively start vegetable seeds in egg cartons that you were just going to throw out. I personally don’t use egg cartons for this purpose as we raise chickens. Egg cartons are a hot commodity around here!

How often should you water seeds indoors?
When you first plant your seeds (before they emerge), they normally need to be moistened at least once per day with the spray bottle. Check on your planting containers often to make sure they are still moist.
After your seeds have turned into nice little seedlings and you have started bottom watering them, I find that they need to be watered every 2 – 3 days. Be sure to keep checking on them, it depends a lot on the temperature and humidity of the room. Don’t let them dry out too much between waterings!
Other Seed Starting Posts:
How to Choose What Plants to Grow in Your Vegetable Garden This Spring
Growing Herbs Indoors: A Winter Indoor Herb Garden Guide for Beginners
The Last Thing You Need to Know About Starting Seeds Indoors
Starting seeds indoors can be so much fun! Every February, I start itching to get started. Well, it may be difficult at first, but through trial and error, you will master nurturing your own little plant babies and setting yourself up for a successful gardening year!
I absolutely LOVE hearing from my fellow experienced gardeners and beginners alike. I welcome you to leave a comment below with any tips or tricks you may want to share or any questions you have along the way. …And remember, sharing is caring! Be sure to share this post with your friends and fellow gardeners!