6 Steps To Hatching Chicken Eggs In An Incubator
A chicken incubator is a great way to hatch your own eggs at home! So, if you are looking for the steps to hatching chicken eggs in an incubator keep reading. With a little bit of care and attention, you can have baby chicks running around in no time.
I’ve been a proud chicken owner for the past three years. This was one of the many steps we have taken so far to become more self-sufficient! If you would like to read about more skills that you can learn to help you start homesteading check out these 9 skills!
This post contains affiliate links, which means I receive a small commission, at no extra cost to you, if you make a purchase using this link. Please see my disclosure for more details.
For the first two springs, we bought our chicks to add to our flock from the local feed store and from a fellow homesteader in the area. This year I bought a cheap incubator from Amazon and decided to try hatching chicken eggs in an incubator.
What is an incubator?
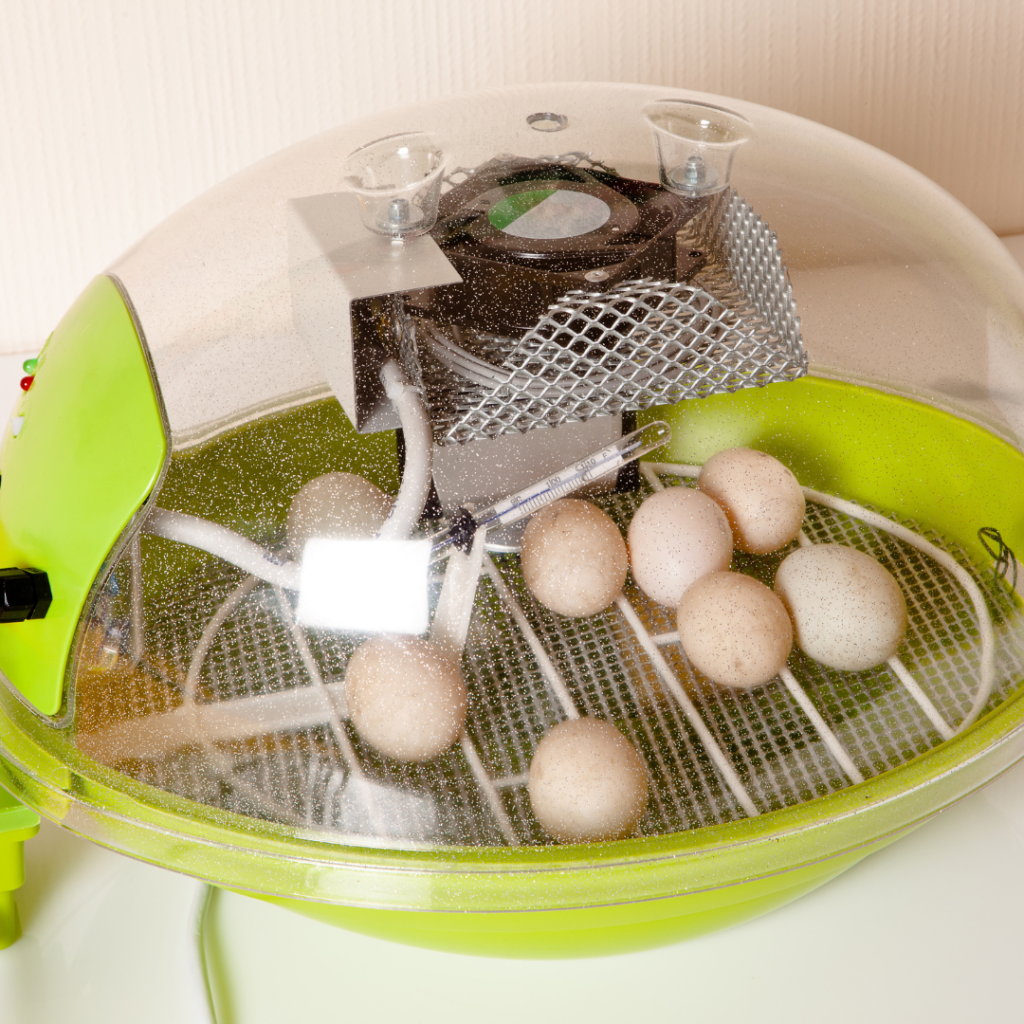
An incubator is a machine that hatches eggs by maintaining the perfect temperature and humidity for the eggs to develop. Incubators can be used to hatch chicken eggs, quail eggs, duck eggs, and even reptile eggs! I bought a cheap one on Amazon to get started.
What are the benefits of hatching chicken eggs in an incubator?
There are several benefits to hatching chicken eggs in an incubator. Here are just a few reasons why I chose to learn how to hatch chicken eggs with my new incubator:
What do you need to get started?
To get started with hatching chicken eggs in an incubator, you will need the following supplies:
An Incubator –
There are a number of different incubators on the market. I’ve listed the most popular ones below that owners rave about. I’ll certainly be trying a few of them out over the next year or two to see if I can improve my hatch rate. For now, I am working with a cheap Chinese incubator that I found on Amazon. I’ll do a complete review including tips that I have used to prevent overheating and other issues at a later date.
- The Brinsea Mini Advance Hatching Egg Incubator
- The GQF Hova-Bator Genesis 1588 Advance Poultry Egg Incubator
- Manna Pro Harris Farms Nurture Right Incubator
Eggs –
The next thing that you need is eggs! You can purchase eggs from a local farmer, or hatchery, or collect your own from your backyard chickens. I’ve had the best luck with hatching chicken eggs that I have collected fresh. I try to collect them within a day or two of when they are laid.
A Good Thermometer –
You need a good thermometer to track the temperature inside your incubator. Even if your incubator has one built in you should always have another one to be sure you are getting an accurate reading. This way you can be sure that your incubator is staying at the correct temperature for hatching chicken eggs.
A Good Hygrometer –
You also need a good hygrometer to track the humidity inside your incubator. Just like with the temperature, you should have a separate one to double-check the readings on your incubator.
I found this thermometer/hygrometer combo that is nice and small to fit anywhere I need it to! Check it out on Amazon!
An Automatic Egg Turner –
Most incubators come with some type of egg turner. This is a device that automatically turns the eggs several times per day. This is necessary to prevent the embryo from sticking to the shell and to help it develop properly. I recommend getting an automatic egg turner if at all possible as it makes the hatching process much easier.
Egg Candler –
An egg candler is a device that you can use to check on the progress of your eggs. This is a very important tool as it allows you to see if the embryo is developing properly to avoid eggs going bad in your incubator. I highly recommend this egg candler. I’ve tried others along with attempting to use my iphone, but I ended up ordering this one from Amazon. It was such a game-changer as I could even see through darker eggs!
Now that you have all of your supplies, you are ready to start hatching chicken eggs in your incubator!
My Favorite Chicken Resources
Before we get into it, I thought I’d share with you my absolute favorite online research resources!
Blogs
Forum
6 Steps To Hatch Chicken Eggs in an incubator
Now that you have all of your supplies, you are ready to start hatching chicken eggs in an incubator! Here are the simple steps to get started:
Step 1: Set up your incubator
You will need to prepare your egg trays. The trays should be clean and free of any dirt or debris.
Set up your incubator according to the manufacturer’s instructions and allow it to run for 24 hours to stabilize the temperature. Sometimes, I will allow mine to run for a couple of days just to be sure everything is just right! Your temperature and humidity should be at the correct levels before you add your eggs. The temperature should be 99.5 – 100 Fahrenheit and the humidity should be between 30 – 50%.
Step 2: Get your eggs ready for incubation
If you are collecting your eggs from your own chickens as I do, now is the time to start doing just that. I try to only use eggs that are less than 7 days old. If they are any older than that, I have found that the chance of them hatching is greatly reduced.
Collect only clean eggs with no imperfections. It is best to check your nesting boxes often and gather the eggs as soon as they are laid to prevent them from becoming contaminated. If you are purchasing eggs, check that they are viable and safe for incubation.
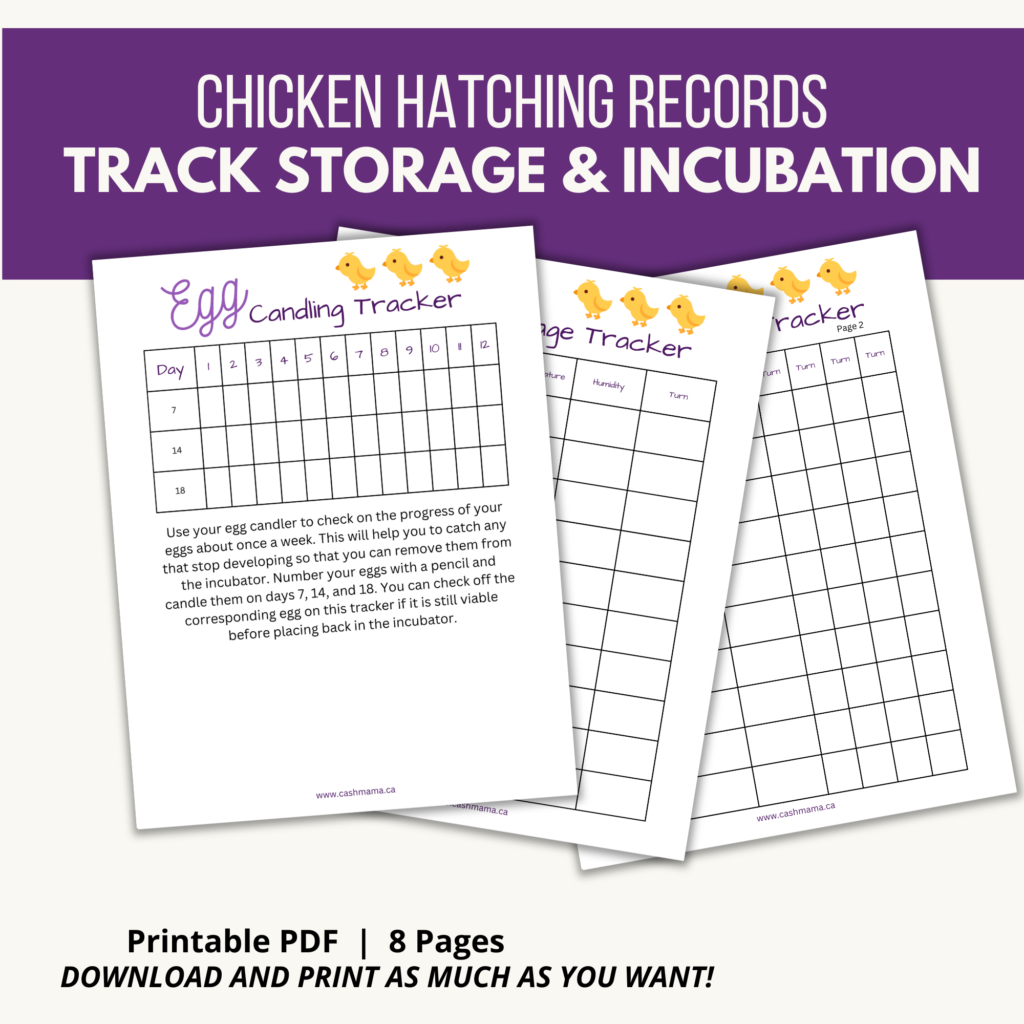
Do not wash them, and place the pointy end down in an egg carton. I like to prop the carton up on one end and turn it a few times daily till I have the number of eggs that I wish to incubate. This helps to keep the yolk centered in the egg. It is best to turn them at least two times per day. Make sure you are tracking the humidity and temperature each day and write down each time you turn them. I use my printable chicken incubation journal for this.

Step 3: Place the eggs in the incubator
After your incubator has been running for 24 hours to stabilize, it’s time to place your eggs inside. Gently place them on the egg turner if your model has one or on the bottom of the incubator if it does not. Close the lid and don’t open it again until it is time to turn the eggs!
You will need to maintain the temperature and humidity at the correct levels for the next 18-21 days in order for your eggs to hatch properly. Check your thermometer and hygrometer daily, adjusting them as needed. Once again, I like to record my readings each day in my incubation journal.
Finally, make sure that you are maintaining proper airflow. Your incubator should have a fan and vents to help regulate the temperature and humidity. I like to check these every few days just to make sure they are functioning properly.
Step 4: Turn the eggs 3-5 times per day
If you have an automatic egg turner, you can skip this step, but make sure it is always functioning properly. I, unfortunately, learned this from experience.
Otherwise, you will need to turn the eggs manually 3-5 times per day for the entire incubation period up to day 18. Set a timer so that you don’t forget! Gently turn each egg until the pointy end is facing down. This helps to prevent the embryo from sticking to the inside of the shell and encourages even growth. Use a clean egg turner or your hand when turning them, making sure not to drop or jostle them too much.
Step 5: Check on the eggs regularly by candling them
Use your egg candler to check on the progress of your eggs about once a week. This will help you to catch any that stop developing so that you can remove them from the incubator. This will help to prevent the spread of any harmful bacteria. You guessed it, I also track my candling results as well.
Step 6: Wait for the big day!
On day 18, it’s time to stop turning the eggs. Remove the egg turner from the incubator if you have one. Your temperature and humidity will also need to be changed. The temperature should be lowered to 98 – 99 Fahrenheit and the humidity should be increased to 65 – 75%. The eggs will now need to remain undisturbed until they hatch!
The incubation period is 21 days. I like to give my eggs a few extra days just to make sure they are all hatched. You will start to hear the chicks peeping on day 19 or 20.
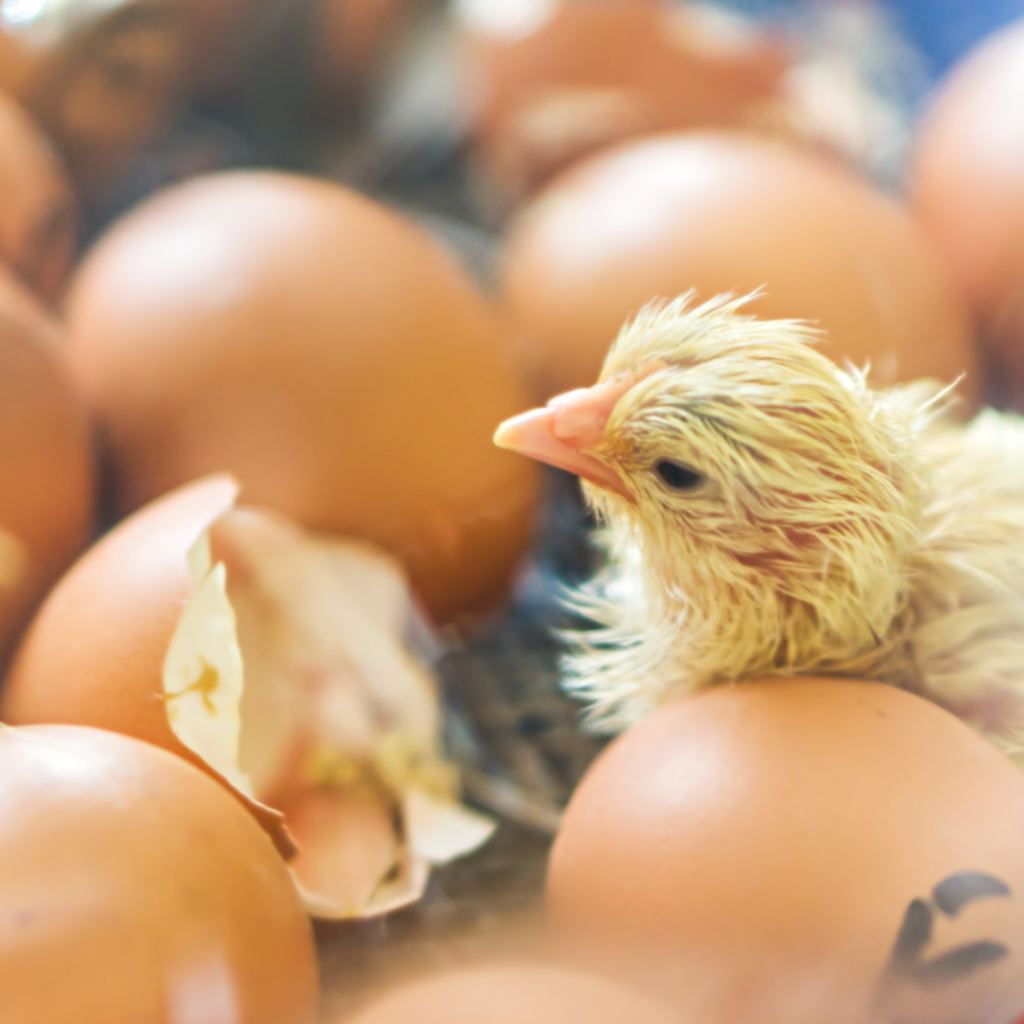
You did it! Now it’s time to enjoy your new baby chicks!
If you have any questions about hatching chicken eggs in an incubator, please feel free to leave a comment below and I will be happy to help!
Happy Hatching! ~Sandra